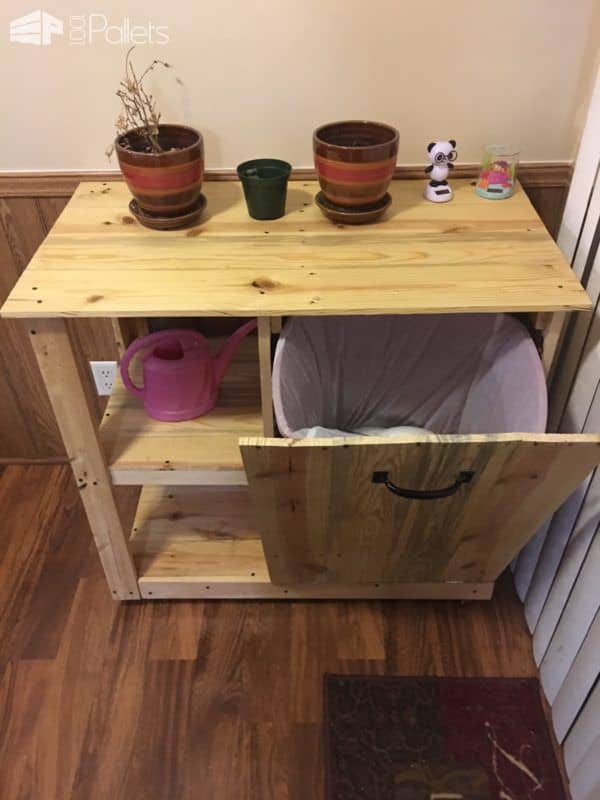
This Pallet Trash Can Hideaway Shelving Unit is my first project with pallet wood. It features a tilt-out trash can holder with shelves. I used minimal tools on this one, including a palm sander, 20v cordless saw (Porter Cable), and a drill. I ran across others similar to this, but none had shelves. Some were made from store-bought wood or didn’t have features I wanted. I’m new to woodworking in general, and if I had to do it over again, I would have used my jointer that I just purchased instead of clamping the board to get the bows out of them. But I guess that’s part of the point of pallet projects; the rustic look which includes bows.
Planning and what wood to use:
I made this 22″ deep, and 33″ wide, so it had enough room for shelves, and the trash can insert. I also included a back on it. All the others I looked at did not. I wanted to keep any smells inside that may come from the trash can. I am lucky enough to have a good supply of non-chemically-treated pallets from work so that I can use them indoors without worry.
Making the panels:
I started by picking out the best boards I could find with the best edges. I used a hand planer to get the best fit on the edges. This ensured that the boards would be easy to glue and sand. I put five boards together for each panel, the top, back, sides, and shelves. Next, I glued and clamped each panel, letting it dry thoroughly. Then I sanded, a lot, with my palm sander and different grit sandpapers to get it as smooth as possible.
Building the frame:
I built the frame out of 1 x 3’s to support the shelves, bottom, and top. The front tilt out door was simple. I used one of the panels for the front and one for the base held together by triangle pieces on the sides.
I glued and used my finish nailer whenever possible. Additionally, I used black finish screws anywhere they were going to be visible, just for a more rustic look. I purposely left some of the nail holes, and nail heads in the pallet wood simply for the look of it.
Finishing the project up for a beautiful faux cabinet!
I applied three coats of Formby’s Tung oil, smoothing with steel wool between coats and to give it a gloss. I installed some small casters so we could move it around easily, but I wasn’t pleased. I’m going to replace them with standard felt ones. The only reason is when you pull the door open; the entire thing moves so it’s a little annoying.
Hope you enjoy this project as much as I did making it. I learned a lot with this one.
Editor’s note: Locking casters can be used to more firmly secure a piece, but allowing movement for cleaning, etc.

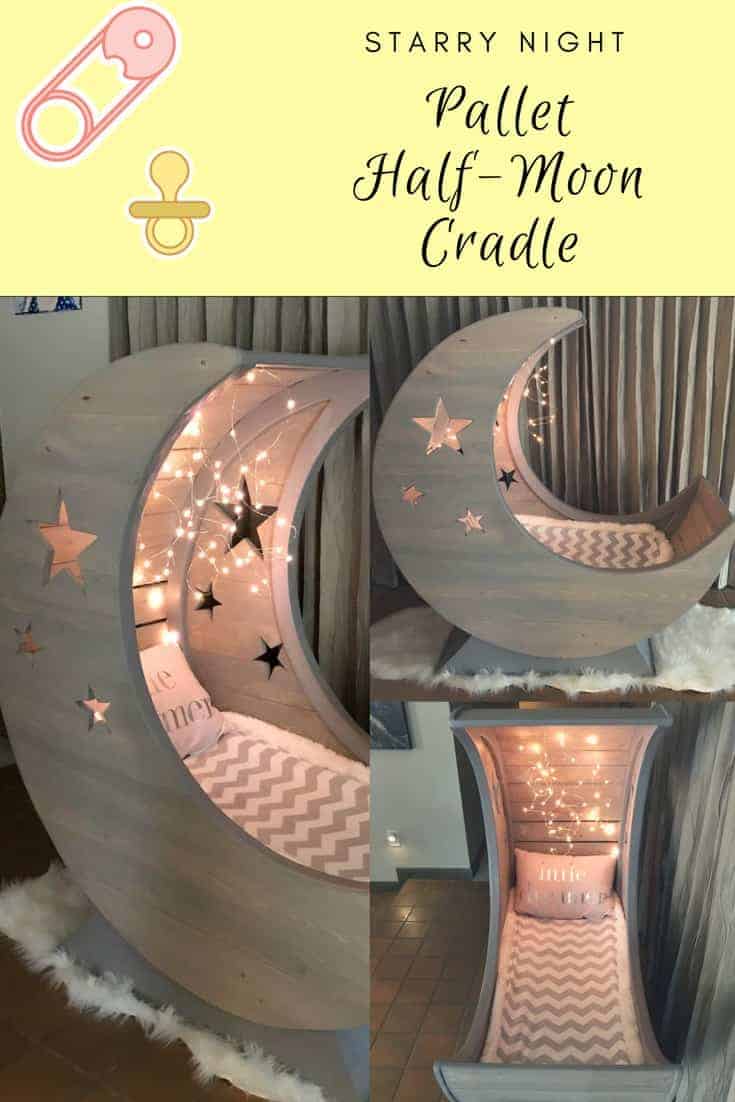
Excellent first pallet project! We look forward to more! Here’s another terrific project to check out!



Very nice.