Hi There, I’ll show you in this simple DIY tutorial, how to build a planter box out of reclaimed pallet wood.
Step 1: Dismantle Your Pallets
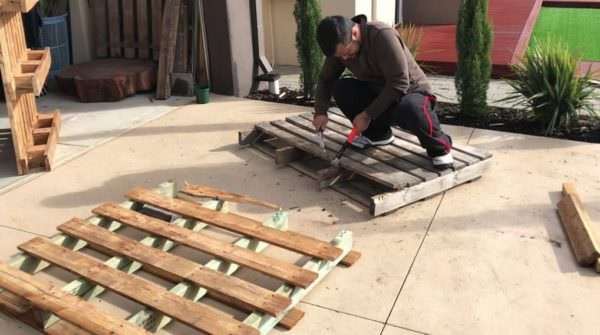
The first step is to dismantle your pallet. There are several methods to disassemble a pallet, you can see our article with 8 ways to dismantle a wood pallet. For this one, I used two hammers to collect all the pallet boards I need for this project.
Step 2: Materials Needed
This is the list of materials needed for this project:
- Pallet Wood (3x pallets)
- Hand Saw
- Hammer
- Pencil
- Measuring Scale
- Nails
- Measuring Tape
- Spray Paint of your choice
- Knife
- A Plastic Sheet
- Potting Mix and obviously the Plant
Step 3: The Plan
You’ll need to cut 12 blocks (inner blocks) of pallet wood with a length of 40cm each for the inner section. Then you will cut 8 blocks (top and bottom blocks) with a length of 21.5cm each to hold the inner blocks from top and bottom. Next, cut 8 blocks (side blocks) of 51.5cm length for the sides of the planter box. These sides will also serve as the legs of the planter box. Once ready, all these sides should be joined together to build the box shape. Finally, you’ll put 4 blocks of 40cm length (bottom blocks) at the bottom of the box.
For the top section, you need to cut 2 x 50cm and 2 x 46cm blocks. In my case, my pallets have a width of 9cm so, I cut the edges of the top blocks by drawing a diagonal of a 9cm square box.
Step 4: Cutting pallet planks
Let’s start by cutting the 12 blocks of the inner section of the planter box. They don’t have to be really fancy, as most of it will be staying inside the box and will not be visible.
Now that you have the blocks of the inner sections ready, its time to measure and cut the top and the bottom blocks that will be holding the blocks of the inner section.
Then, cut the 8 x 51.5cm blocks that will be holding the box from the 4 sides. After spending a few hours I finally have all the blocks ready to be joined together.
Step 5: Joining the blocks
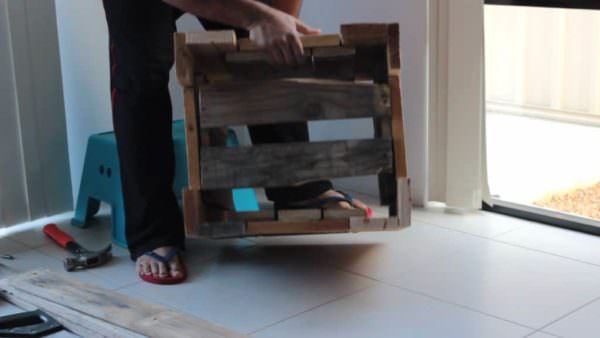
To join the blocks together, we recommend to simply nails them together as shown on the plans. If you prefer to use wood screws, it’s up to you.
Step 6: The Bottom Section
Now, its time to cut and join the bottom section of the planter box. As the bottom planks will not be visible, you can use the pieces of pallet wood which don’t look nice or broke during the dismantling of the pallet.
Step 7: The Top Section
At the edge of the pallet wood, draw a 9cm square (this measure is for the width of my pallet planks, it could differ if your pallet planks are of a different width) and then draw a diagonal inside the square. The diagonal is going to be the angle which you will be using for the side.
Step 8: Painting or Staining your planter box
Now you have the choice depending on your goals to paint or stain the planter box. Don’t forget to wear a mask and safety goggles while spraying the paint.
Step 9: Installing your Plant
This is the final step, installing your plant in the planter box. First, you’ll have to put a plastic sheet inside the planter box to prevent moisture and soil from damaging the wood. Once the plastic sheet is installed, add your potting mix inside the planter box leaving some room for the plant. Install the plant and voila, your planter box is done!
You can watch the overall building process of this planter box in the video below.






Nice to see you use the metric measures and not that crazy imperial system. More logical to use since only 2 countries in the world still use that obsolete system ! Thank you so much 😁
I wish you would put the instructions in inches instead of centimeters