Here’s a tutorial for a really fun and simple Pallet Bench/Shoe rack. I only used two pallets for this project, and it cost under 20 dollars!
What you will need to make this Pallet Bench/Shoe Rack:
- two 120cm x 80cm pallets
- saw or jig saw
- hammer and nails
- sanding papers or power sander
- wood paint, paintbrush (or stain)
- drill
- carriage bolts & nuts (x 4 pieces)
- measuring tape
- and the most important: safety tools (eye protection, hearing protection, respiratory protection and don’t forget about your hands!)
Dismantling & starting the build:
!Safety first!
Always use goggles, mask, and gloves to protect yourself. If using power tools, use hearing protection as well!
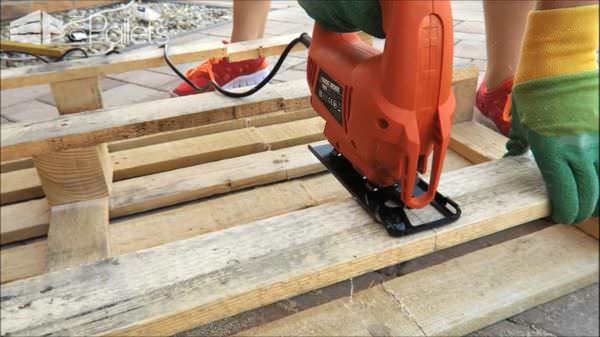
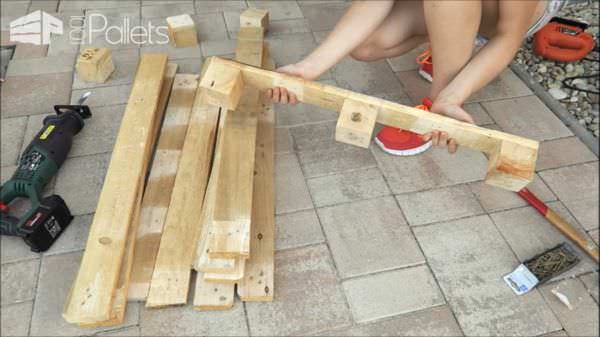
First, I dismantled the pallet using a reciprocating saw. I cut two pieces of 80cm (31.5in) deck boards, but you can size them to the width you want for your home. You can see a picture of it in the video. We used a jigsaw to speed up the work, but a circular saw or even a handsaw are also good choices. Then I attached three cubes to each – one on each end of the board and one centered.
Build the bench:
From the rest of the pallet, you can finish the bench and also create the legs.
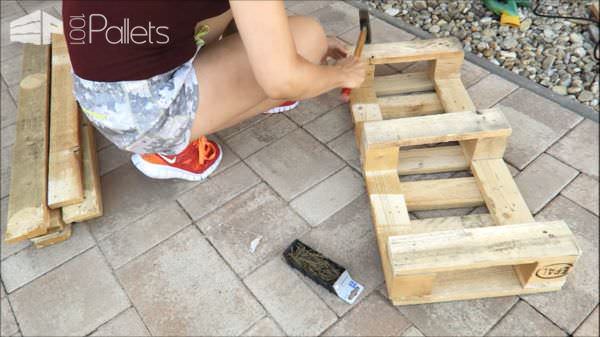
Next, I cut 14 33cm (13in) pieces. I used three to join across the cubes. Turn your build over and attach more slats, spacing them to your liking. You can make them flush against one another, or you can leave a gap. I attached seven more of the 33cm (13in) slats.
The legs:
Need four pieces of 33cm (13in) slats and four pallet blocks for the two legs. I took one of the 33cm slats and attached two blocks, one at each end, and then sandwiched them with another piece of a 33cm slat. I repeated this and created two legs.
Prepping for paint (or stain):
I sanded until the surface is smooth; I used a sander with 80-grit paper. You can also do this by hand – just wrap a scrap piece of the slat and wrap the sanding paper around it. However, a random-orbit sander is much faster and easier. Next, I used a brush to remove the dust. You can also use a lightly dampened rag, but let the wood dry before applying any paint or sealer.
Painting (or staining):
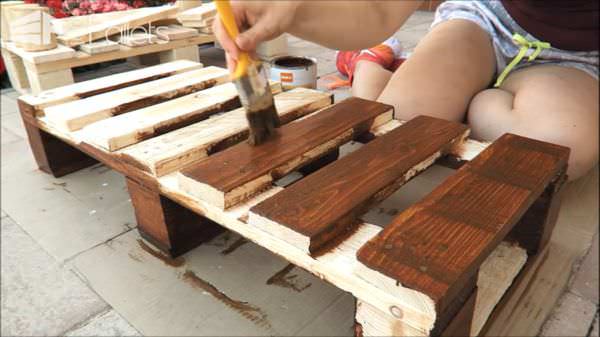
I applied a mahogany color wood paint. Be sure to allow it to dry completely. Our bench took 24 hours.
Final assembly:
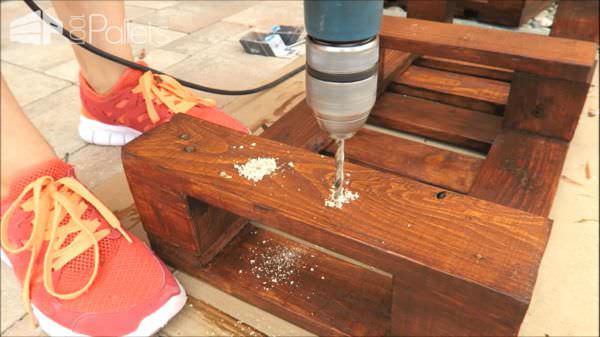
I drilled the hole through the bench, then aligned the leg and used a nail to poke through the drilled hole and mark the spot I need to drill on the leg. Then I repeated the process for the other side. Finally, I used carriage bolts to attach the legs to the bench. The bolts will stabilize the bench.
In my photos, I added a third layer of legs to raise the bench up higher, but you can build it to your needs. I also added a cushion, but these little benches are so comfortable, it’s not necessary.
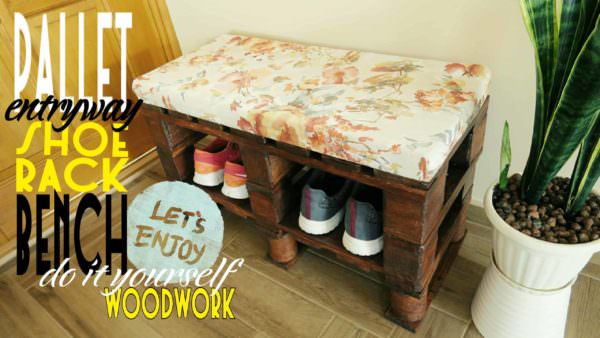







A simple and effective idea, and the cushion makes it cute! <3